 The shopping list
I figured I would present the list of items I have bought first, and then let you read my thoughts on why i chose what to perhaps answer a few questions about that.
So without further ado here it is: http://goo.gl/F7D1sQ
Why Tricopter and Batbone
I’m a noob in the hobby of RC flying. I began to fly V911 helicopters a couple of month ago and pretty soon after I bought a small Nine-eagle Xtra-300 airplane then V929/949 miniquad and also a Blade Nano CPx. I then got enough interested to start putting even some more money into it and am now going to build a multicopter. I was (and am currently) heavily influenced by David Windestål and his Tricopters, made known to me by the guys at Flitetest.com. I decided that I wanted the “swoosh” and “the glide” more than the “robotic movements” of a X-quad (badly flown?). I also wanted a challanging project to be proud of (if I get it flying) and something different than what my friends had built. I set my mind on using Davids and Flitetests foldable tricopter base. But later turned over to their Batbone base instead. The plans to use wooden booms bought locally. And custom landing gears using plastic or wood as “stilt” or “legs”. And zip-ties as much as possible for mounting stuff including motors. They all made me come to the conclusion that some component must be of really good looking design to counterbalance this otherwise “budget looking” vessel. And hey, the only reason that’s really needed: It’s a bat.
Booms
I will buy and cut my own booms since I want them longer than 25cm for more stability. I’m not sure how long yet, but I’m thinking somewhere between 35cm and 45cm (having the tailboom abit longer ofcourse). The 25cm booms can be bought from Flitetest shop but if you want another size or come to the conclusion as I did that I probably will break them a few times and want to have replacements within easy reach.
Flitetest Tricopter Tilt-mechanizm using the BMS-385 digital servo.
I found the servo-parts on a local hobby-fair and bough them for about 70kr so now I need to use them. The alternative would have been to construct something similar myself or to buy the 13-370 tilt mount from Flitetest i guess, but I don’t want those possibly fragile and “harder to get” landinggears and motormounts. The servo is on backorder on HK worldwide =(. But can be ordered locally in sweden from rcflight.com (they had 18 pcs in stock) for about ca 280kr + posting. So I paid a hard 331kr for mine =( ouch… There are alternatives but I didn’t find any post about an as good as this one at the same price. Although that was comparing the HK price of $20 though. But I had already locked in on this when I found out about the stock issues.
AX-2810Q motors and propellers
I will start with SF 11×4.7 propellers. Beause someone on some random forumthread made it sound like a sensible size for this motor. SF=Slow fly. 11×4.7 (inch) or 279x119mm, could also be named 1147 and R1147 (for RH/CCW). Tricopters can allegedly fly with all 3 standard rotating propellers but at a small tilted angle (unleveled). If the left and back propellers turn standard and the rightmost propeller turn RH the copter should stay leveled instead. Which is preferred if you use it for shooting videos.
Green 11×4.7 SF propellers
Standard rotation in stock at HK “EU warehouse” and right hand (RH/CCW) rotation on HK “International warehouse”. I really do hope both orders come through without issues.
And yeah, I’ll buy a few blacks too as soon as I have tested that these work.
Tip: To find the propellers, search for 11×4.7 on HK.
FC1147 propellers
I also found some interesting ones at Goodluckbuy i might buy later on: http://goo.gl/jpY8Gm.
Some excerpts from my research about propellers and these motors
“Perfect on a Tri. Heaps of power with 4S and 10×4.7, or better still 11×4.7. “
“I have bought several pieces of this motor. I have found some quality issues. 4 of 10 motors was missing the main shaft screw and two motors came with loose bottom bearing. The motor itself is high quality. Just look for missing screws or loose bearing.”
“If you are planning to use over 1.3kg multi rotor and 10″ props, use 4s battery, or change for 12″ propeller. With a 1.6kg quad/3s/10×4.5 props it hovers in 60-65pcnt. In a hex a/2kg/10×4.5/3s it hovers with a little bit over 55pcnt, but its power hungry (10min with 5000mhA 3s) and is a little bit sluggish. So, in my opinion, 4s is mandatory with 10″ propeller and multirotor over 1.3kg, or just try to use 12” props. All tests I did motors came down pretty cool. Highly recommended.”
Bad bearings on AX-2810Q
“Just ordered genuine EZO bearings as the original bearings are poor. For less than £3 per motor its a worthwhile upgrade”
Q: “What are the sizes of the bearings for these engines, anyboby knows ?”
A: “11mm x 4mm x 4mm – Size code is 694zz. EZO bearings are the best and less than £1.50 each”
– http://www.rcgroups.com/forums/showthread.php?t=1733937&page=3
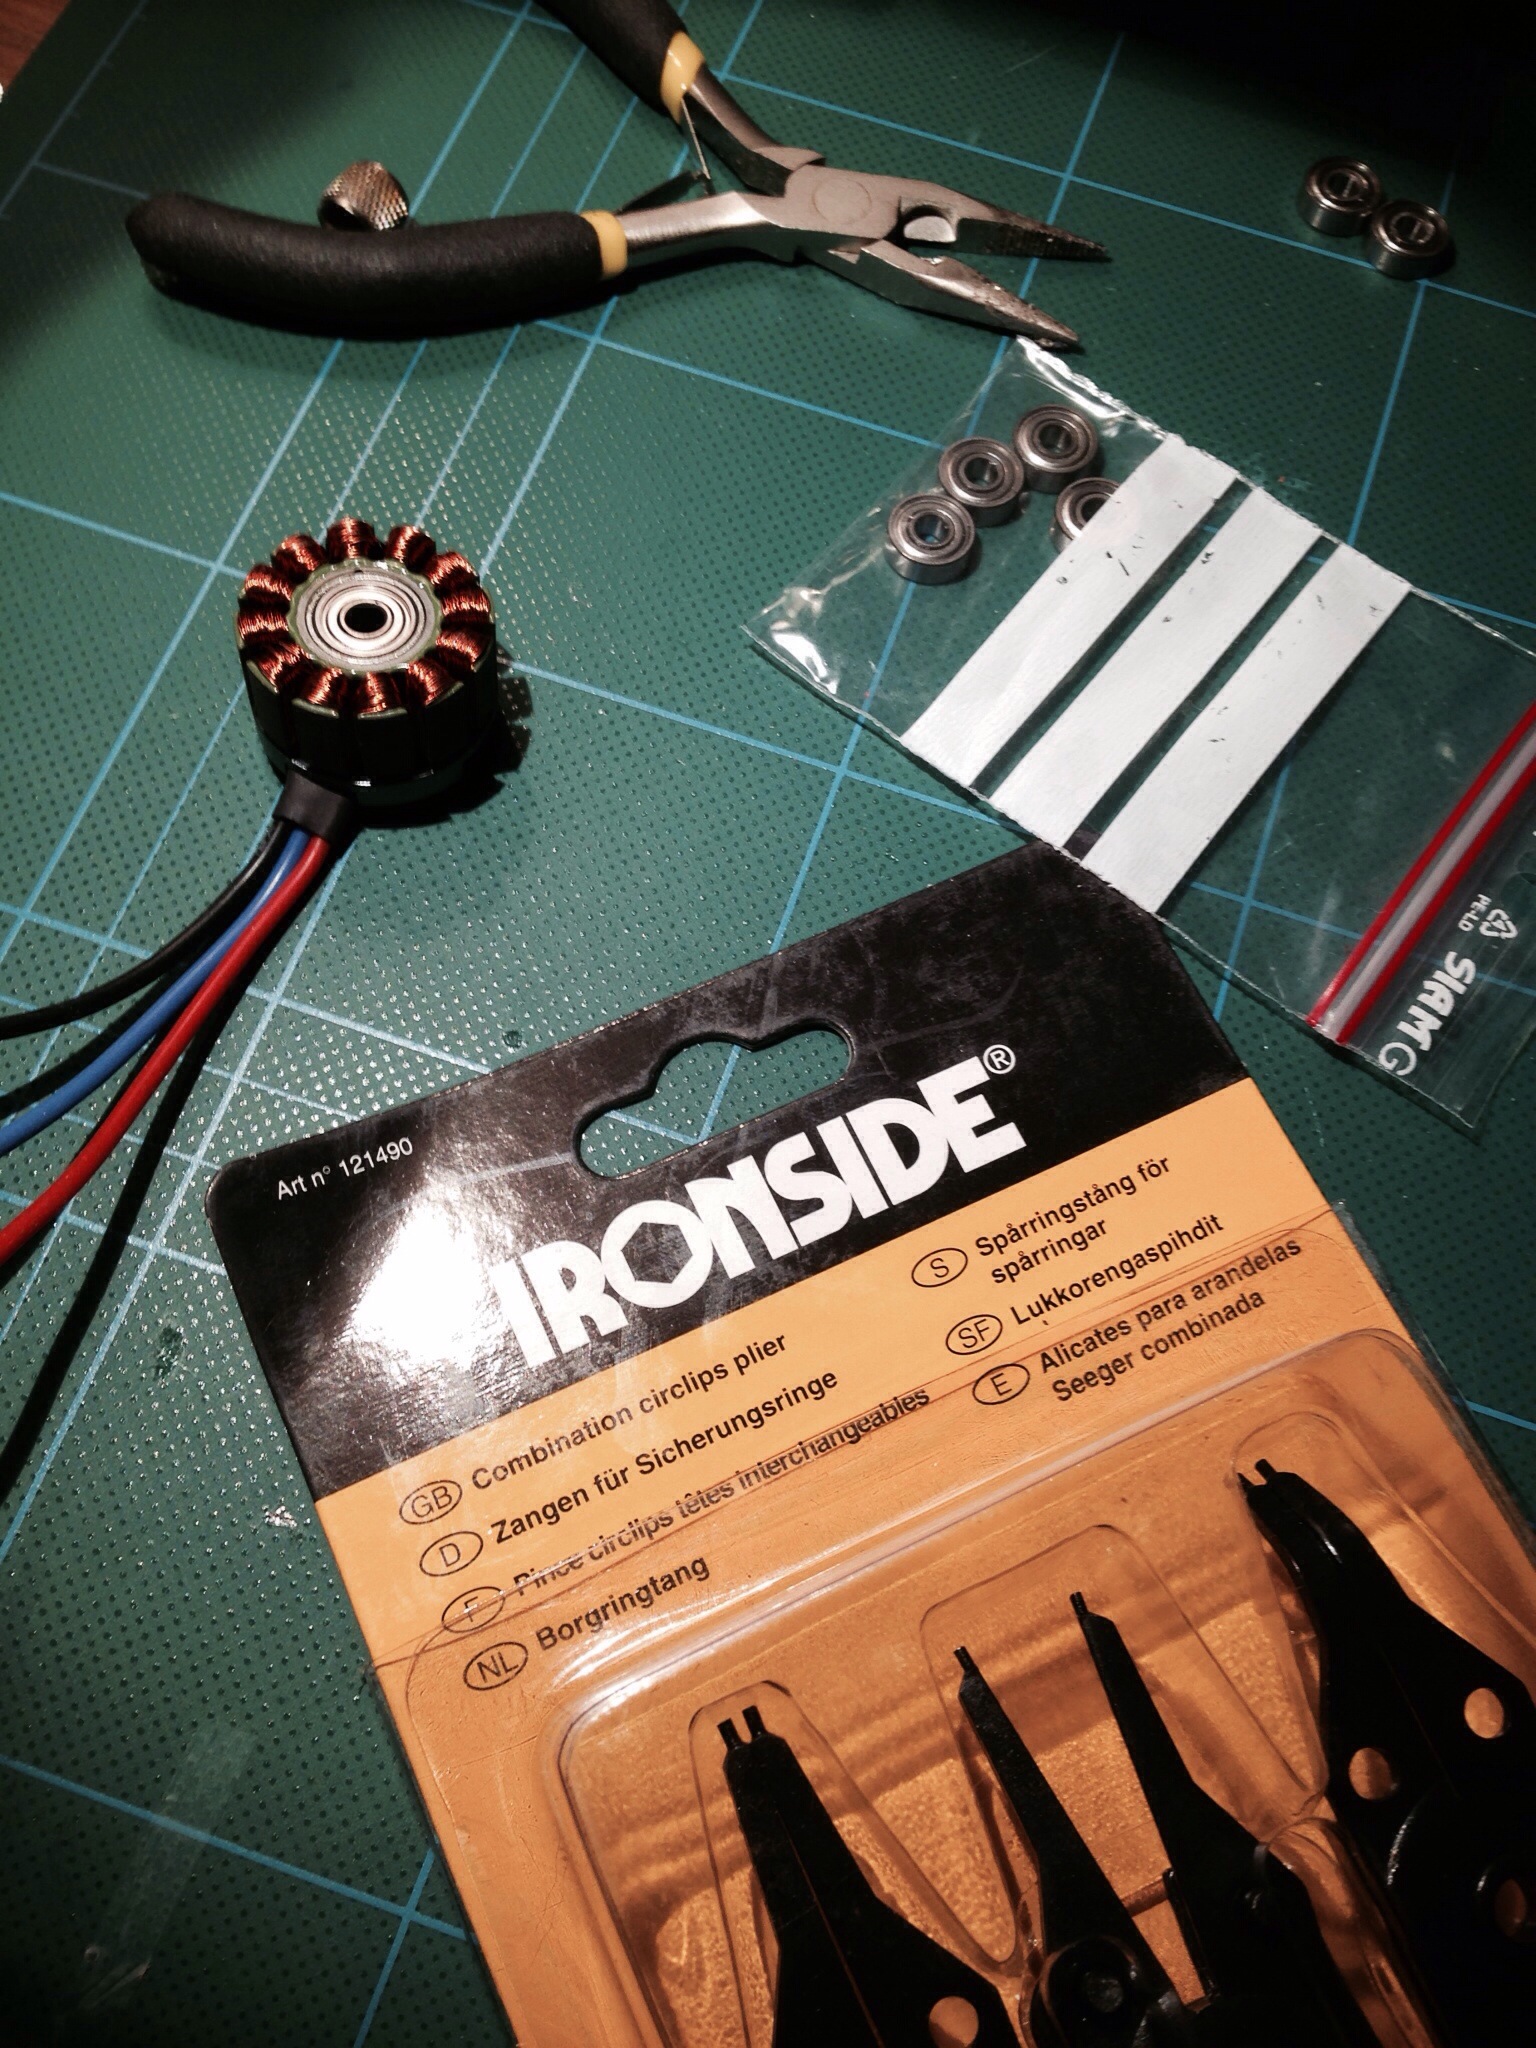
So i ordered bearings from a local webshop that delivers high quality ones. Not cheap. At least that’s a good sign that could translate into quality. I hade to “bite the bullet”: 6 * 45kr + 49kr administrative charge (whatever that’s for?). Shipping was free though! Or was it?
I considered buying them at Ebay, but how can I then be sure about quality? I want my engines at their best. Maybe next time I will go for sunnysky or another quality brand of quad motors. After all. I did opt-out of buying DT750 for the reason not wanting to rework the motors. I do not want to exchange bearings more than once. And most bearings on Ebay either look like poor-quality or show too few guarantees.
More research on the motor
Here’s some info that might come in handy when I do a proper eCalc multicopter calculation at http://ecalc.ch/xcoptercalc.htm:
“…. engine resistance, its, as stated somewhere else in this thread, 0.108 Ohm. Power limit is more like 370 W at 14,8V not 400W…”
Motor mounts and landing gear
The AX-2810Q has 16/19mm M3 screws for motor mounts. I really would like a motormount based on zip-ties holding the motors. But theese motors aren’t as easy to mount using zip-ties as the DT750:s with their “foot”. These motors are meant to be fastened using screws from beneath. I will have to get creative and create some adapter or similar. For now I bought some sort of brackets that I hope to be able to utilize for this task. I’m not really sure how for now. For landing gears I will cut some plastic squares or such. Plain and simple. If and when I do Go-Pro I will need to upgrade them, but for now I will use my 808#16 that don’t need so much clearence.
Power
Specs say the motor will maxout at 35A so I will go 40A on the ESC:s. Sizing the powersystem for 40A gives plenty of headroom and also gives me the possibility to upgrade motors later on if I want to. I’m going to use a Turnigy nano-tech 4S 25-50C 4000mah Lipo. My basic calculations are that at maximum 35A, multiplied with 3 motors gives 105Amps of power needed. At 25C the Lipo can give 4.0 * 25 = 100A. So with this battery I should be OK unless I actually manage to draw 35A or more per engine constantly. But I figure that if that happens something else is wrong. About the connectors. I found the breakout-cable I wanted to use, a 5.5mm bullet-connector pair to 4x4mm bullet-connectors. There was no version for tricopters but that’s an easy fix. However I then learned that the nano-tech Turnigys use HXT connectors. And there was no such adapter. I will consequently build my own HXT to 5.5mm 10AWG adapter cable. It feels like the right thing todo, following the HXT standards and with also having good possibilities of changing connectors later on without changing my breakout wiring. I also bought extension bullet-connected wires for the possibly extra lengthy arms while also minimizing the need to solder extended wires.
Too be continued…


