Still alive!

So as you probably figured out by now if you have been following my progress on this project – I work on it when I feel like it with a goal to be finished around spring at the latest. That said I still work on it at least a couple of hours a week so even when I haven’t posted for a while (as now) rest assured, I’m still going for it.

I have finally finished the motormount-adapters…
20140110-185718.jpg
…and have most recently begun the process of soldering bulletconnectors to the ESCs and motors. 6 down 18 to go…

20140109-180657.jpg

I have bought a tilting mount for my new GoPro Hero+ Black.
20140110-184749.jpg20140110-185737.jpg

And yesterday I got my Taranis radio with Frsky telemetry sensors.
20140110-103741.jpg20140110-184727.jpg

I’m now also a happy owner of a Blade QX Nano quadcopter.
20140110-185204.jpg

Expect some updates on all of them later on… or at least some photos and videos ;-).

Prototype done!

So here is the final prototype for my motormount.
20131116-183742.jpg
20131116-183915.jpg
20131116-183934.jpg
I might have used the wrong bit for the Dremel. I used a carving bit for engraving but should have tried the cutting bit first. Now I had to do layer by layer like 20passes for each cut. Maybe I don’t need to do that if the cutting bit works with this plastic… I’ll try that next time.

Drilling in plastic…

So i felt the need to own a Dremel. Bought one. Started to create a first prototype in plastic. I’m pretty sure I need another material for the real thing though. I googled polystyrene and it’s melting point is 240-260 ‘c. I used my multimeter with the temp-sensor to measure the temp of the tip of my soldering iron. Got about 70-110. Tried to apply some of that heat for a couple of seconds. It melted. And it also melted some during drilling. Making a mess out of my drill. So maybe it’s not polystyrene plastic or my reasoning is flaud. I will look for another material with better heat resistance. How about some kind of metal perhaps?

20131115-234514.jpg

Motormount prototyping!

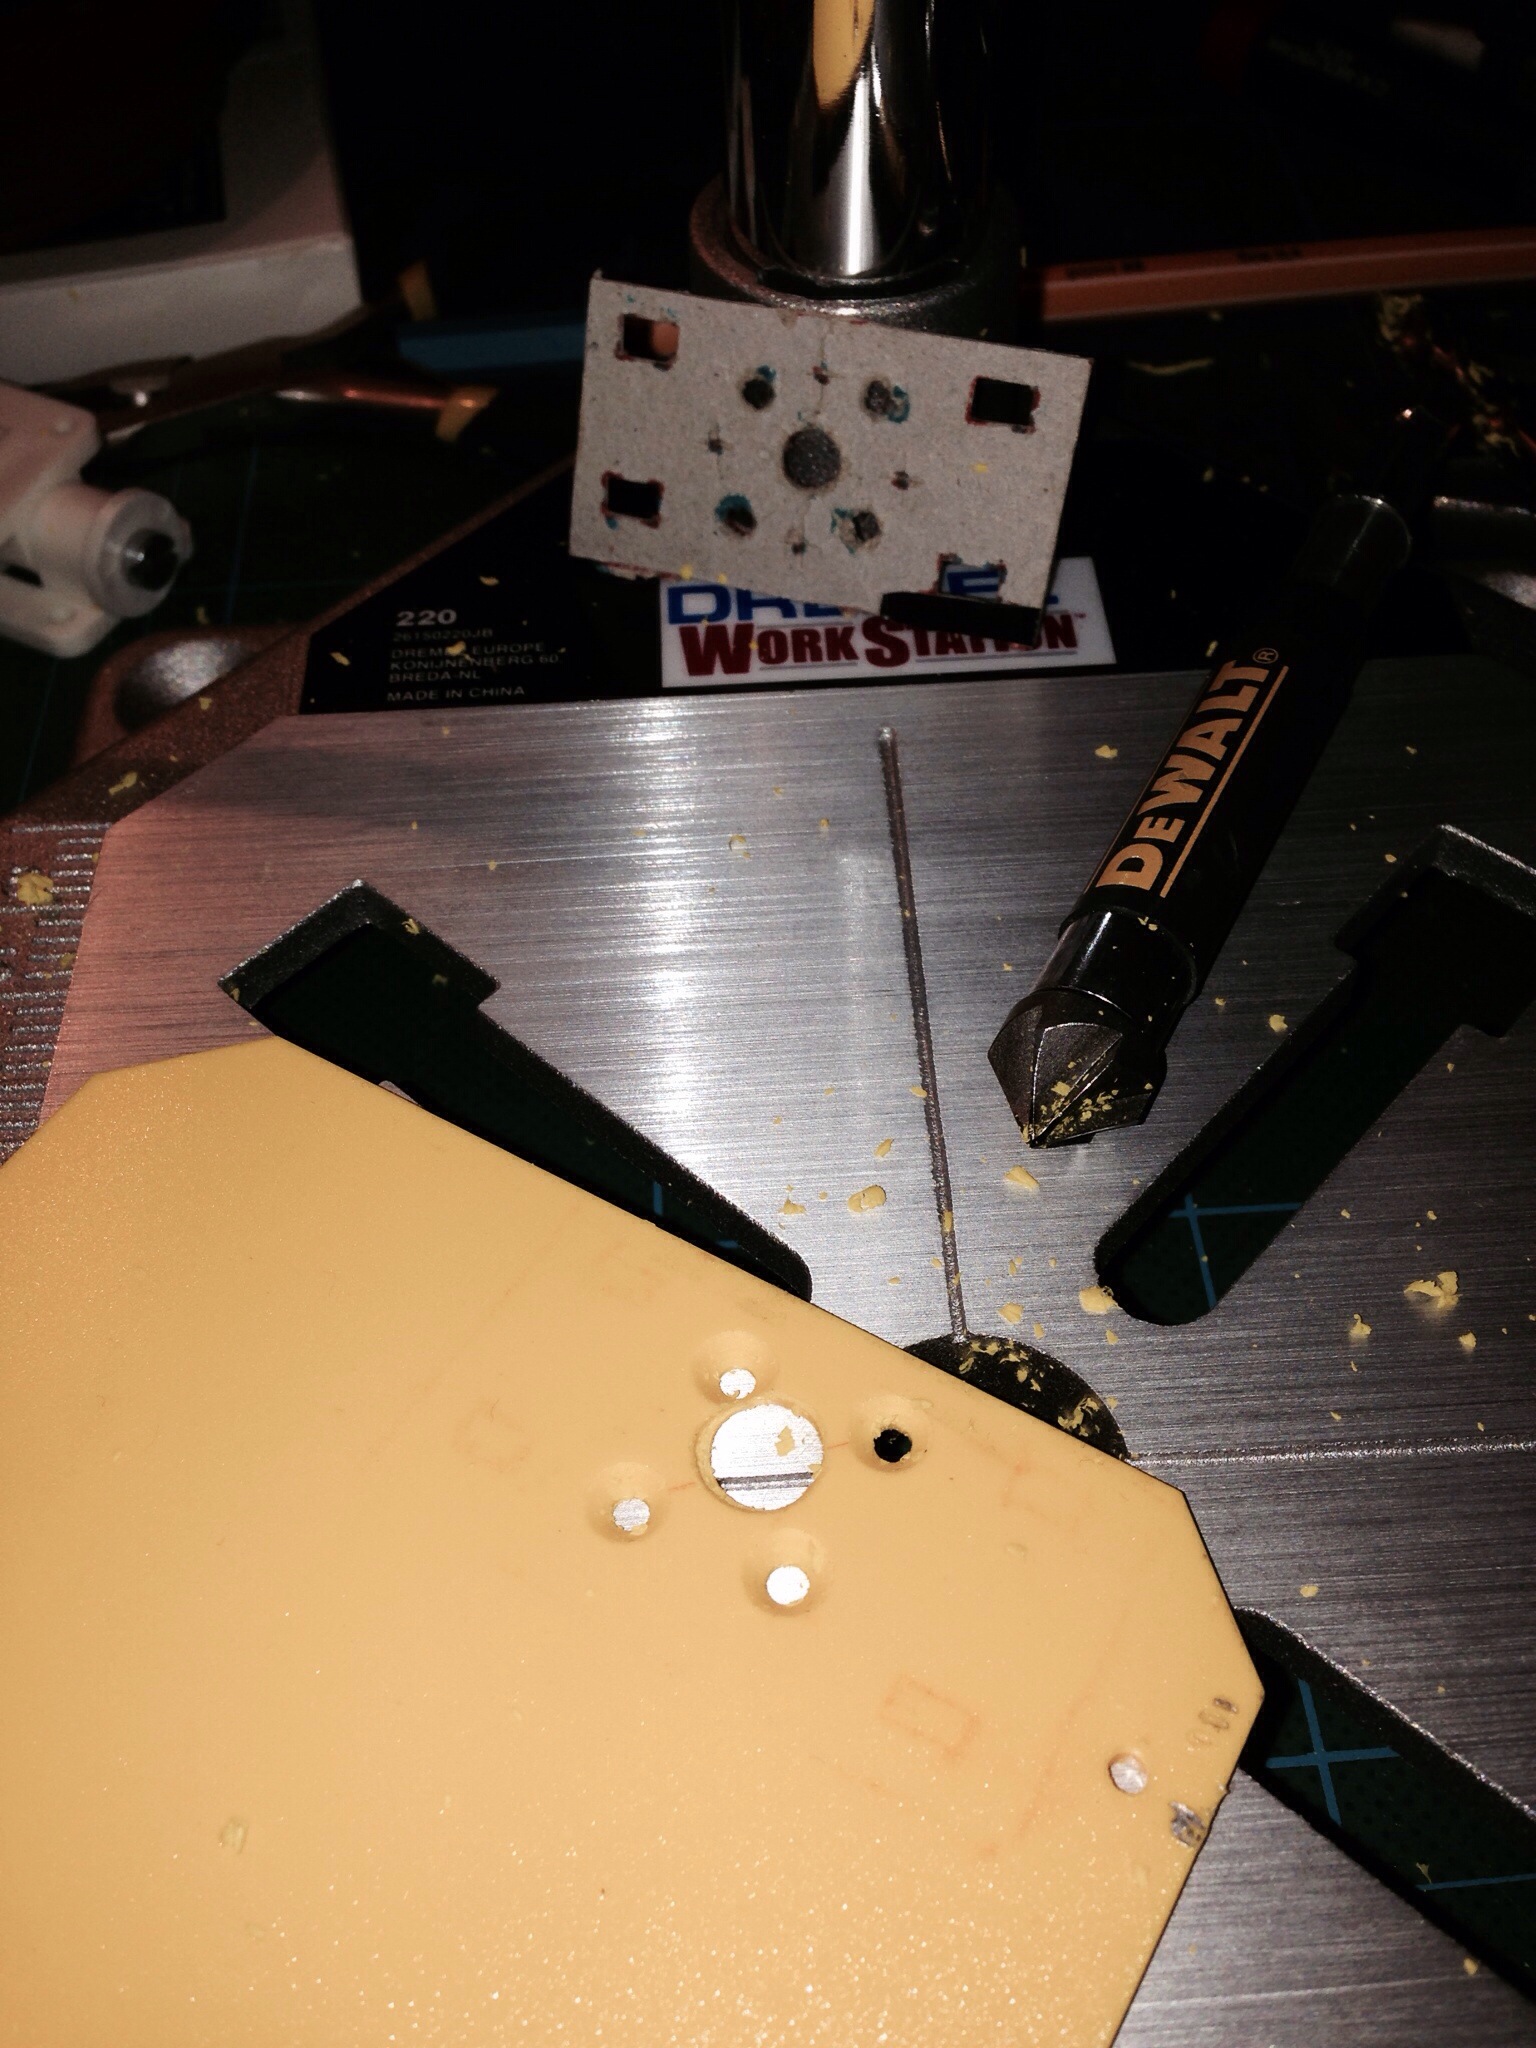
So I have an idea on how to build some motormounts for the AX2810Q (16x19mm cross) to attach with zipties to my wooden booms. I also found other examples on people executing that idea. But using materials and methods of manufacturing that I don’t have access to. I will however try out this thing anyway. By prototyping my way forward from what I began with and created this evening, in cardboard. Needless to say, I will use a somewhat more rigid material in the finished product ;-). Here’s a pic on what this process looks like right now.
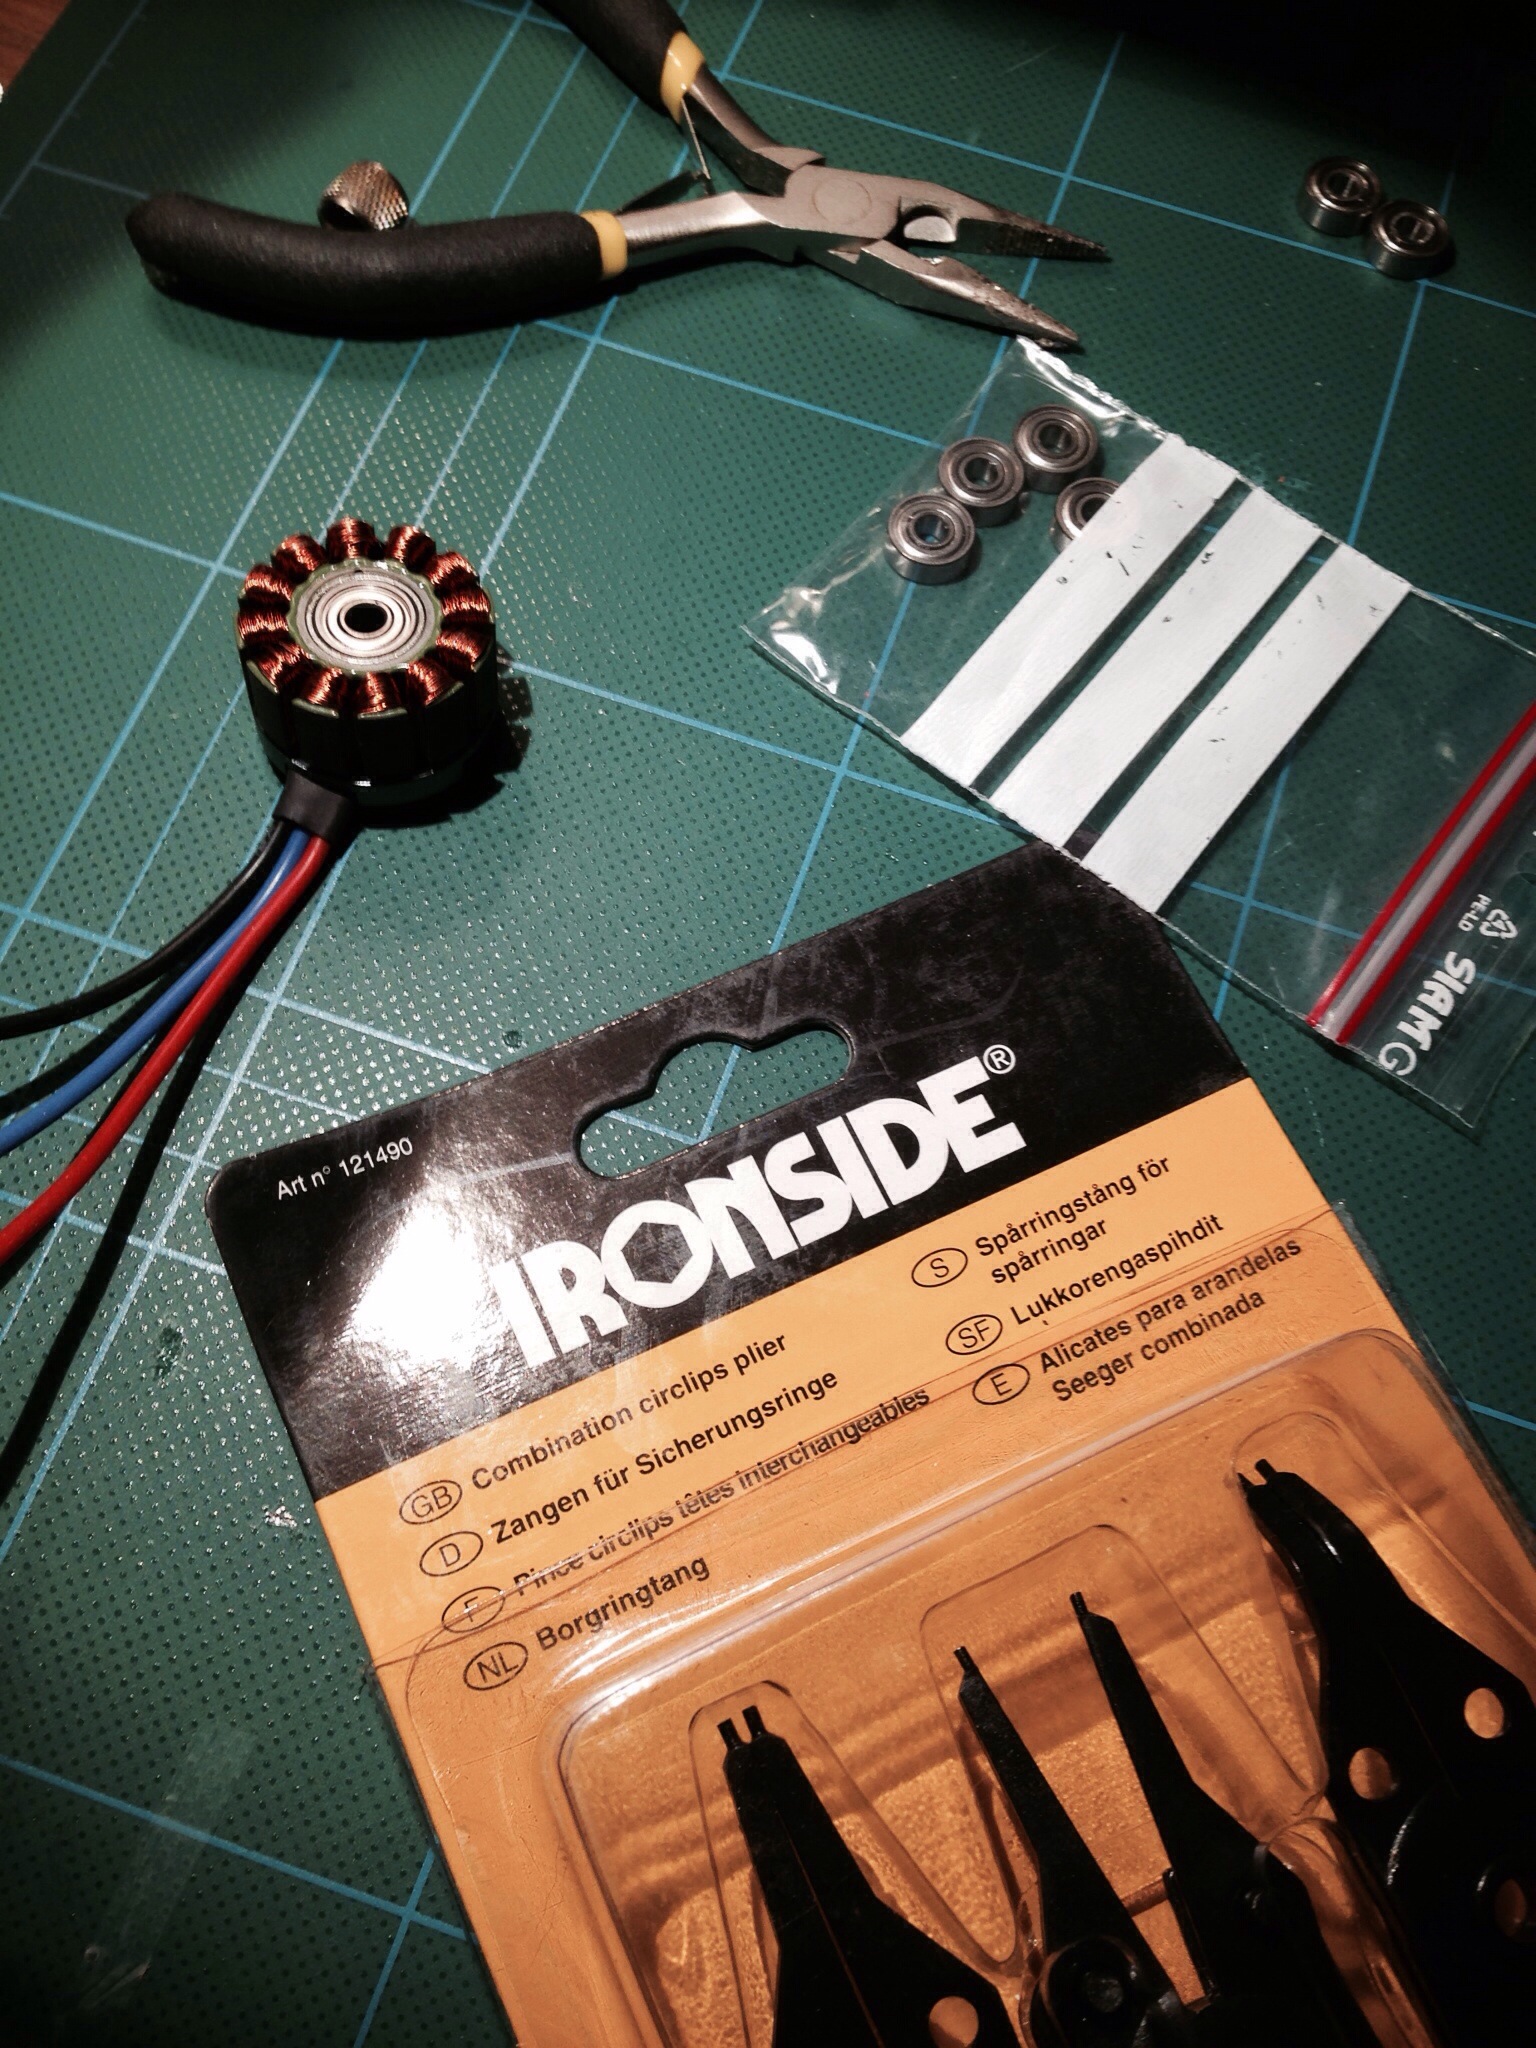
20131114-233606.jpg
Bearings upgrade
I also bought the kind of pliers needed to disassemble the motors today… hmm…).

20131114-234923.jpg
Unfortunately I was only successful in replacing the two bearings of one motor. The others where totally stuck and so wouldn’t budge. I gave up. Thinking a broken motor is worse than a bad- or “prone to break and get bad”-motor. I also found something weird stuck in the casing around the magnets… Possibly something that should be left there, maybe for balancing? Some brown/black solidified paste or sediment. I didn’t feel like scraping that off. What if I break the balance? I also found out that there’s abit of oxidation, as you can see in pictures below.

20131114-235040.jpg
But I’m not sure that’s a problem either. Perhaps it’ll burn off or something when I run the motors hot (which I shouldn’t do)…

Motor-tilt-hinge
I almost forgot that I think I managed to assemble a working hinge for the tilt mechanism yesterday night. Not as pretty as David’s carbon fiber axeled but I had a screw that fitted nicely. Locally available parts precede fancy materials if they are good enough. 🙂 Here it is!

20131115-000537.jpg